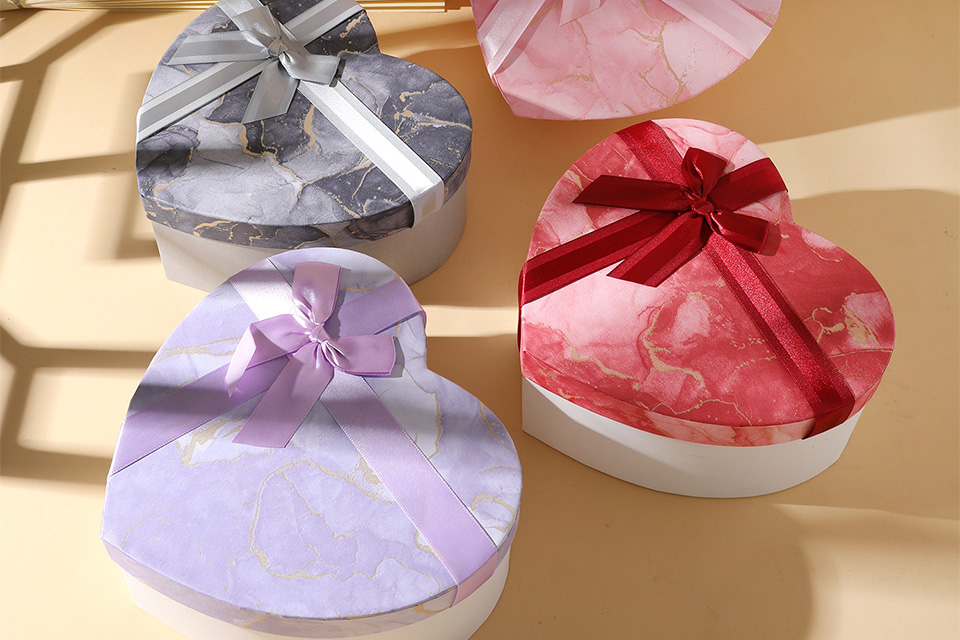
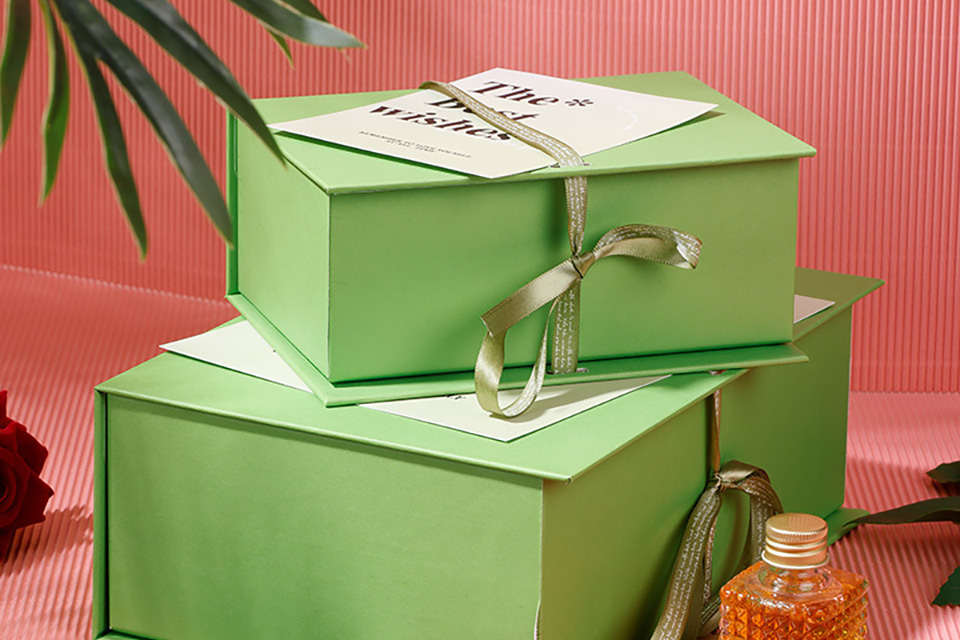
In the high-end gift and luxury packaging sector, Magnetic Closure Boxes have gradually emerged as an innovative alternative to traditional Rigid Set-up Boxes due to their reusability and elegant appearance. Customised designs can enhance the product’s added value while conveying the giver’s sentiment. This article will provide a step-by-step analysis of how to create personalised Magnetic Closure Boxes that combine functionality and aesthetics.
Material Selection and Preparation
Creating Magnetic Closure Boxes requires a balance between structural strength and aesthetics. Below is a core materials list:
- Base Materials: Thin craft cardboard (recommended thickness 3-6mm, referring to Rigid Set-up Box standards), decorative coloured paper or cardstock (eco-friendly paper options available).
- Tools: Craft knife, glue roller, magnetic glue (high-temperature resistant type recommended).
- Magnetic Components: Neodymium disc magnets (diameter 5-10mm, magnetic strength ≥ N35), whose high magnetic permeability ensures a secure closure of the box lid.

Complete Process for Making Magnetic Closure Boxes
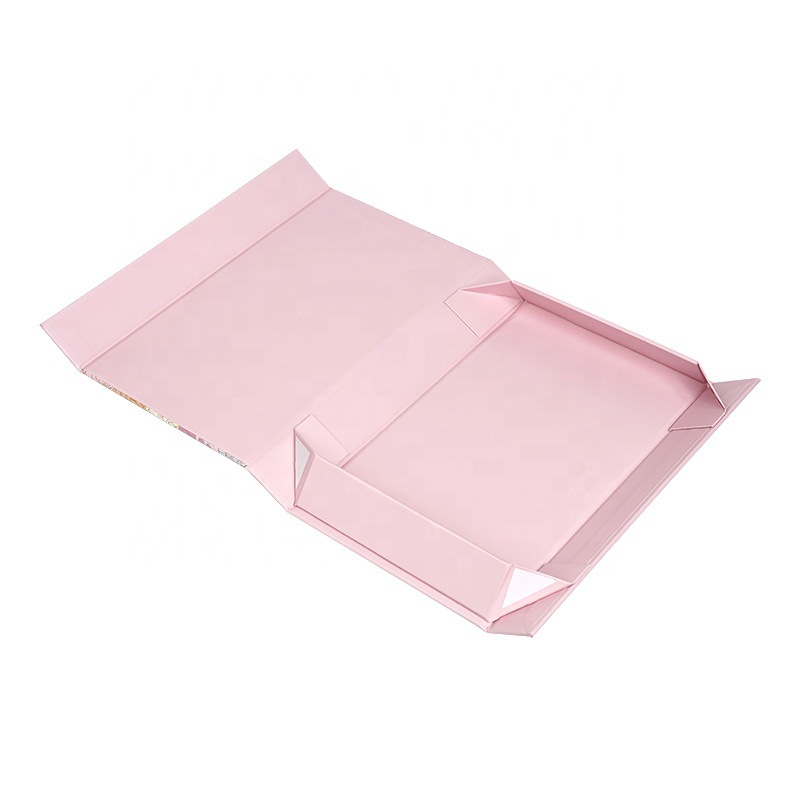
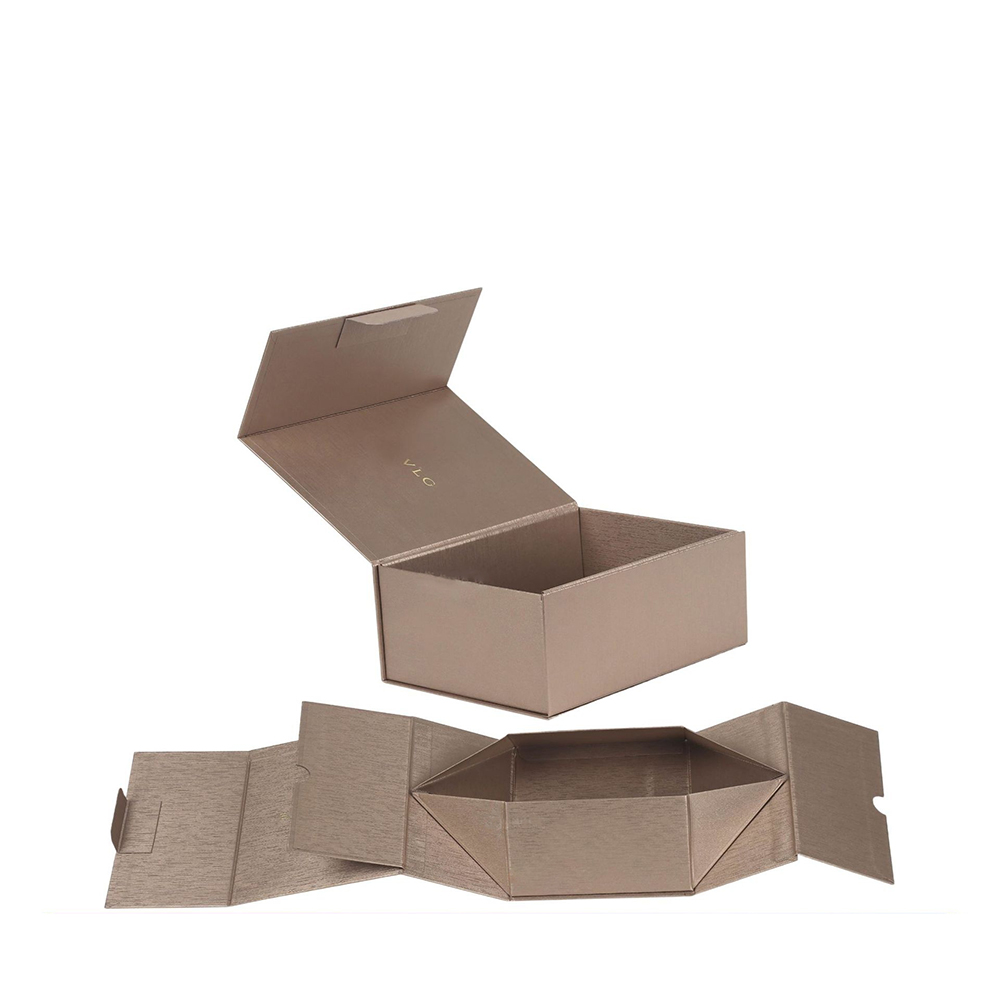
1. Box Structure Production
Step 1: Precise Cutting of Cardboard
Using handmade cardboard or a notebook backing as the material, cut the box base and sidewalls to the predetermined dimensions. Research indicates that a 45° bevel cut on the corners of the Rigid Set-up Box can enhance assembly fit.
Step 2: Magnetic Slot Positioning
Score a groove along the midpoint of the sidewall, ensuring the depth allows for the magnet to be embedded flush with the surface. Care should be taken to avoid completely penetrating the cardboard, as this could affect appearance.
Step 3: Box Assembly and Lining Attachment
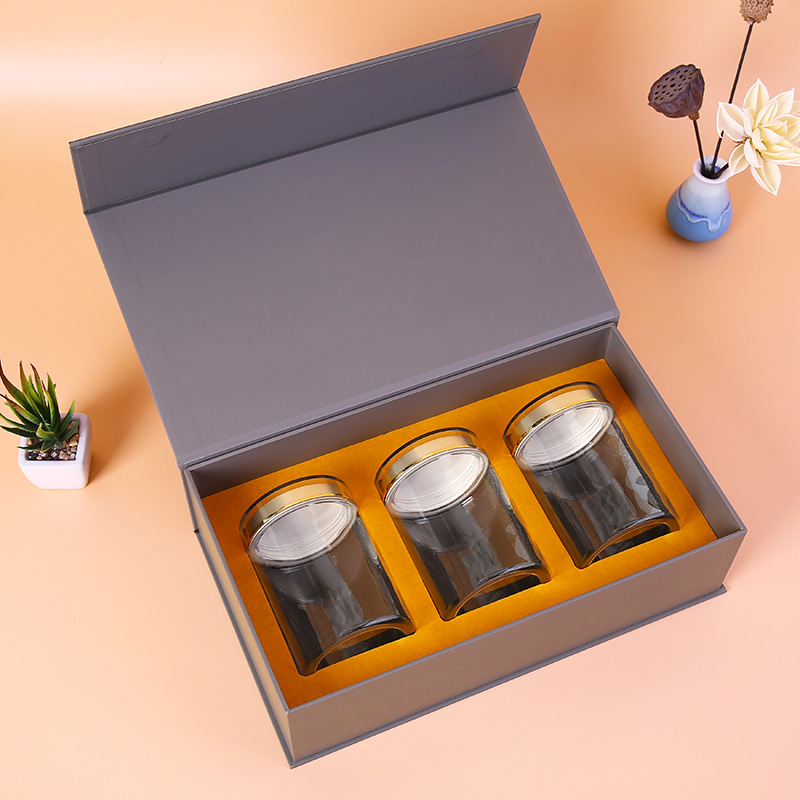
Temporarily secure the sidewalls with tape to form a three-dimensional box shape, then use the glue roller to attach the lining paper. Experiments show that using silk or velvet for the lining can enhance protection and tactile feel.

2. Magnetic System Installation
Step 4: Magnet Directional Embedding
When adhering the neodymium magnets into the grooves, attention must be paid to polarity matching. Testing has shown that a magnet spacing of ≤3mm achieves optimal attraction.
Step 5: Decorative Covering Process
Cut decorative paper using the box body as a template, leaving a 5mm tab at the fold edge to assist with adhesion. For an enhanced texture, UV gloss coating technology can be employed.
3. Lid Design and Functionality Optimisation
Step 6: Magnetic Lid Production
The lid’s cardboard should be 2-3mm wider than the box body to facilitate opening and closing. When installing the second magnet, it is advisable to use a bone folder to press the seams, preventing any warping.
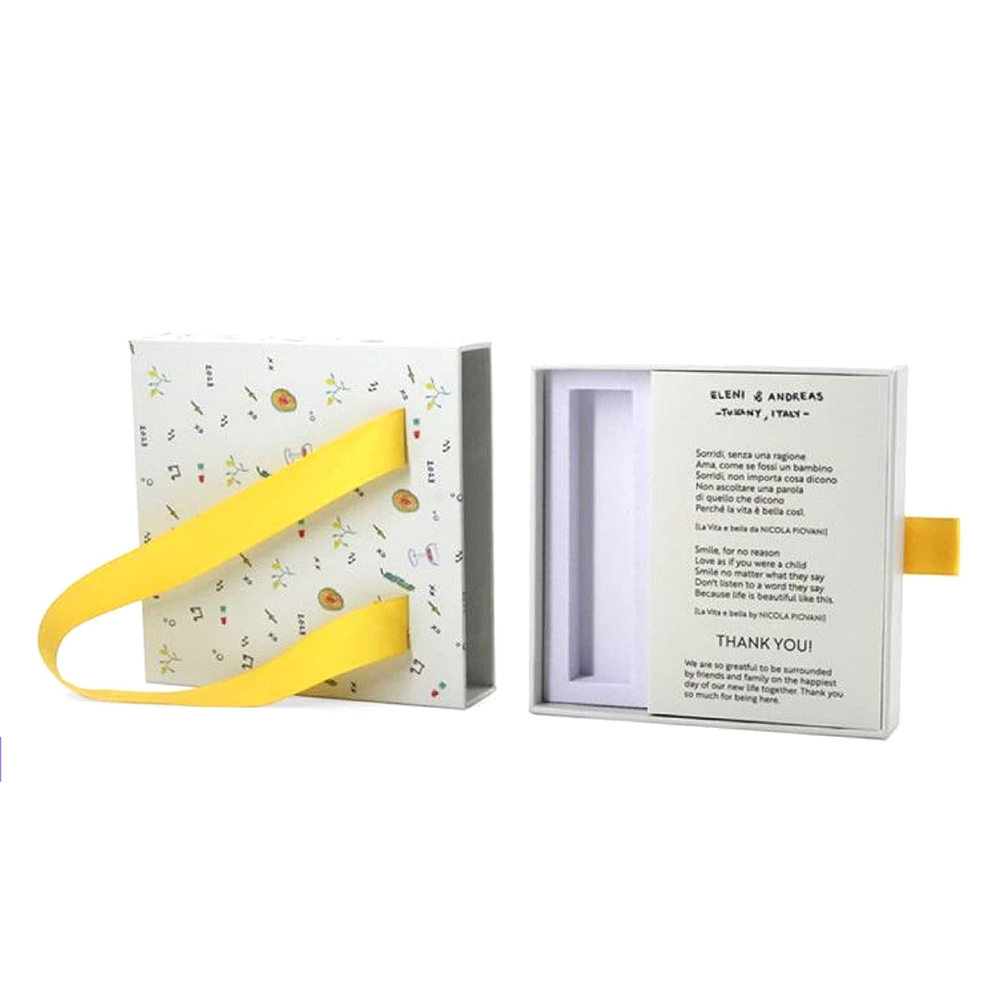
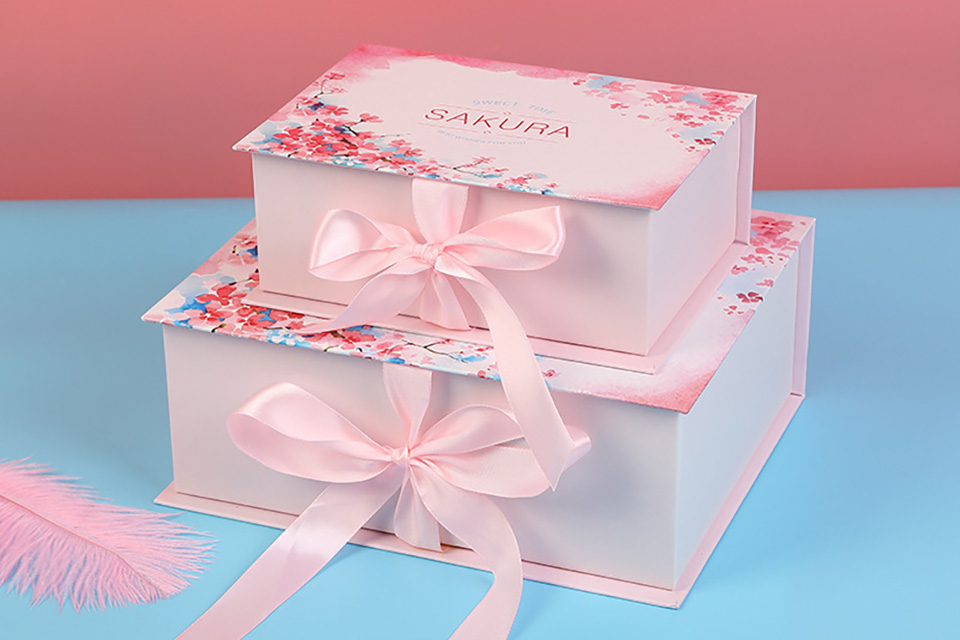
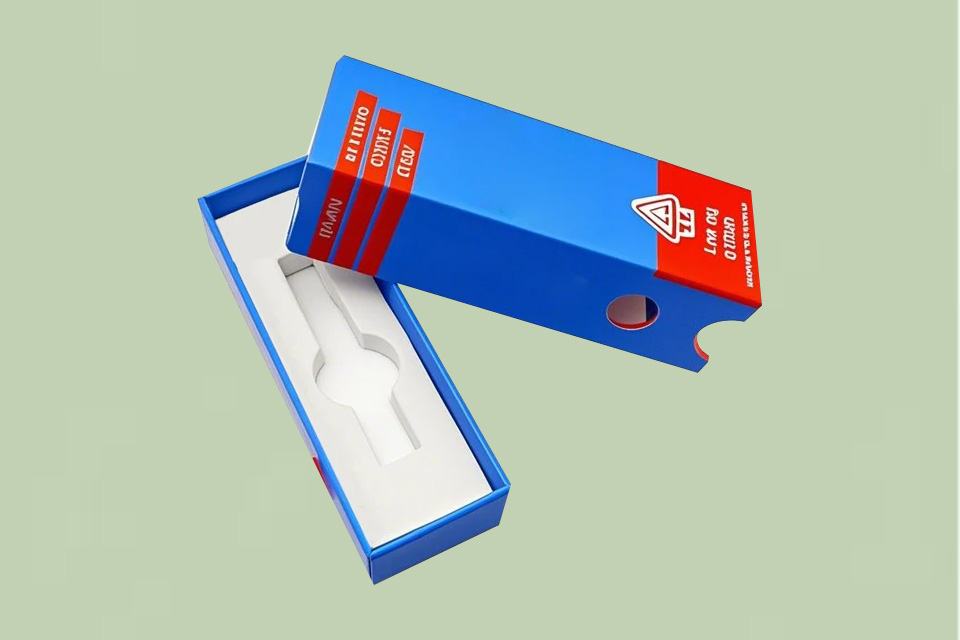
Step 7: Personalised Decoration Options
- Artistic Treatment: Add foil stamping patterns or hand-painted elements.
- Functionality Expansion: Integrate an LED lighting module to enhance usability at night.

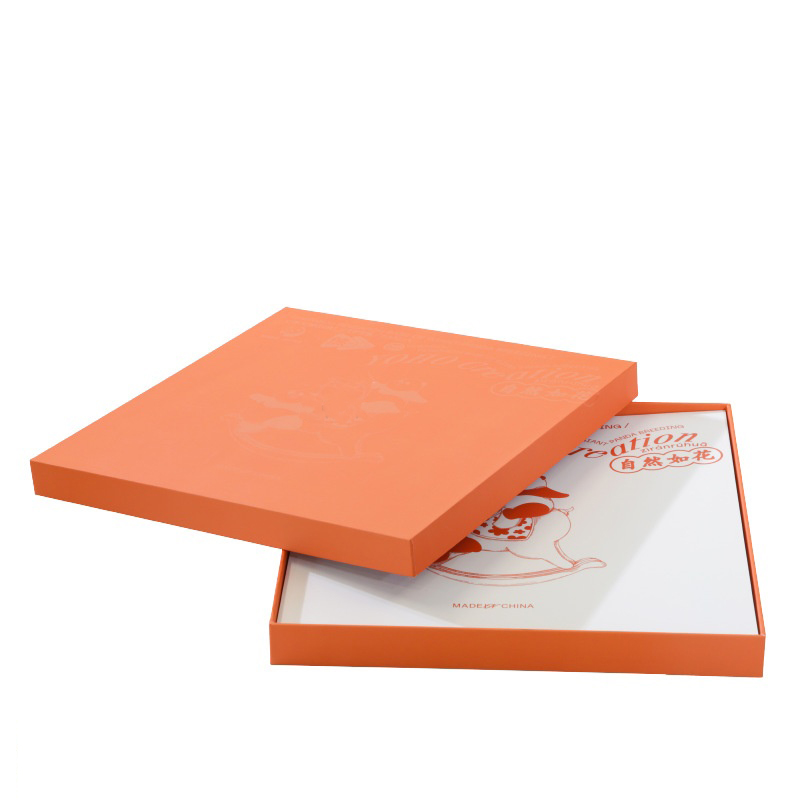
Expansion of Magnetic Closure Boxes Application Scenarios
Magnetic Closure Boxes are not only suitable for gift packaging but can also be extended to various fields:
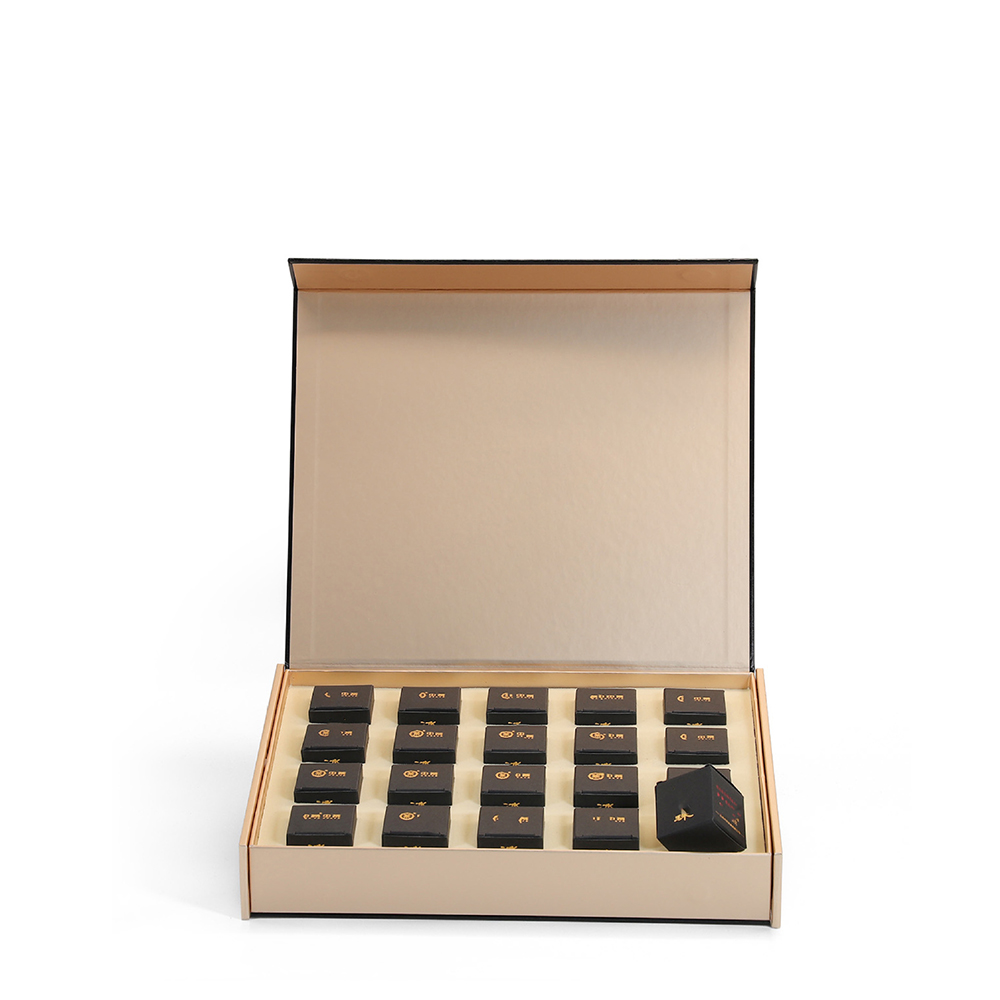
- High-End Product Display: Fragile items such as cosmetics and perfume bottles can be showcased and protected using Magnetic Closure Boxes.
- Office Storage Systems: Pair with embedded magnetic pens for categorised storage of paperclips, USB drives, and other small items.
- Eco-Friendly Reuse: Research indicates that 62% of consumers prefer recyclable packaging; Magnetic Closure Boxes can be repurposed as home decor boxes or stationery storage.